Team & Permissions
Add teammates to a project, bundle permissions into groups, and control exactly what each member can see, configure, and deploy.
Overview
Every Connic project has one owner and any number of members. What a member can do is not fixed by a role: it is the sum of the permission groups assigned to them. Manage members, groups, and the project security policy in Project Settings → Team & Permissions.
Owner and members
| Role | What it means |
|---|---|
| Owner | Exactly one per project. Always has full access, including deleting the project and transferring ownership. The owner's access cannot be narrowed through groups. |
| Member | Everyone else. A member holds the combined permissions of every group assigned to them, and must belong to at least one group. |
Each new project starts with two groups: Admin (every permission) and User (a read-and-operate baseline). These are starting points, not fixed roles. You can edit them, delete them, or add groups of your own.
Permission groups
A group bundles a set of permissions so you can grant access once and reuse it. Each permission maps to a single action, organized by area (agents, runs, deployments, connectors, environments, knowledge, billing, team, and more).
- Create a group from the Groups panel, pick its permissions, then assign it to members or include it on an invite.
- A member can hold several groups at once. Their effective access is the union of all of them.
- Creating and editing groups requires the Create / Update / Delete permission groups permissions, which the default Admin group has.
- A group cannot be deleted while any member or pending invite still uses it.
What the default groups grant
The two starter groups grant the access below. Because groups are editable, treat this as the default configuration rather than a fixed set of roles.
| Action | Owner | Admin group | User group |
|---|---|---|---|
| View agents, runs & logs | |||
| Trigger agents | |||
| Deploy | |||
| Manage connectors | |||
| Manage knowledge base | |||
| Edit project settings | |||
| Manage team & permission groups | |||
| Manage environments | |||
| Manage billing | |||
| Delete project or transfer ownership |
Deleting a project and transferring ownership stay with the owner alone. No group grants them, not even one that holds every permission.
Inviting members
Anyone with the Invite members permission (the owner and the default Admin group have it) can add people from the Invite panel:
Enter email
Type the email address of the person you want to invite.
Choose permission groups
Select one or more groups to assign. The User group is selected by default; add the Admin group or any custom group you have created. At least one group is required, and you can change it later.
Send invite
The invitee receives an email and an in-app notification, and the pending invite appears on their Connic projects page. They can accept or decline. Accepting joins them as a member with the groups you picked.
Managing members
From the team list you can:
- Change a member's groups: use the groups selector next to their name to add or remove groups, which replaces their whole set (requires Update members).
- Remove a member: revoke their access to the project (requires Remove members). You cannot remove yourself or the owner.
- Cancel a pending invite: withdraw an invitation before it is accepted (requires Invite members).
The owner can always do all three. Any other member can do them only when one of their assigned groups grants the matching permission.
Transferring ownership
Each project has exactly one owner, and only the owner can hand it off. In Team & Permissions, choose Make owner next to a member and confirm. The recipient must have room under their own project limit to accept.
Security policy
The Team & Permissions page also holds the project security policy. Turn on Require two-factor authentication to force every member to set up 2FA before they can access the project. You must enable 2FA on your own account first, and changing this policy requires the Edit project settings permission.
API key permissions
Alongside team permission groups, Connic has a separate permission model for API keys that controls programmatic access to the REST API. Team groups govern what members can do in the dashboard; API key permissions govern what automated requests are allowed to do.
When creating a key in Project Settings → CLI / API Keys, leave Full Access on for an unrestricted key, or turn it off to grant read and/or write access per section:
- Sections map to API endpoint groups such as
agents,runs,connectors,deployments,knowledge,judges, andapprovals. The picker lists the sections your project's API currently exposes. readallows read-only requests (GET);writeallows requests that create, update, or delete (POST, PUT, PATCH, DELETE).- Use the All sections (*) row to grant access across every current and future endpoint.
- Keys with Full Access have no section restrictions, and this is the default for a new key.
See the REST API docs for full details on authentication, rate limiting, and available endpoints.
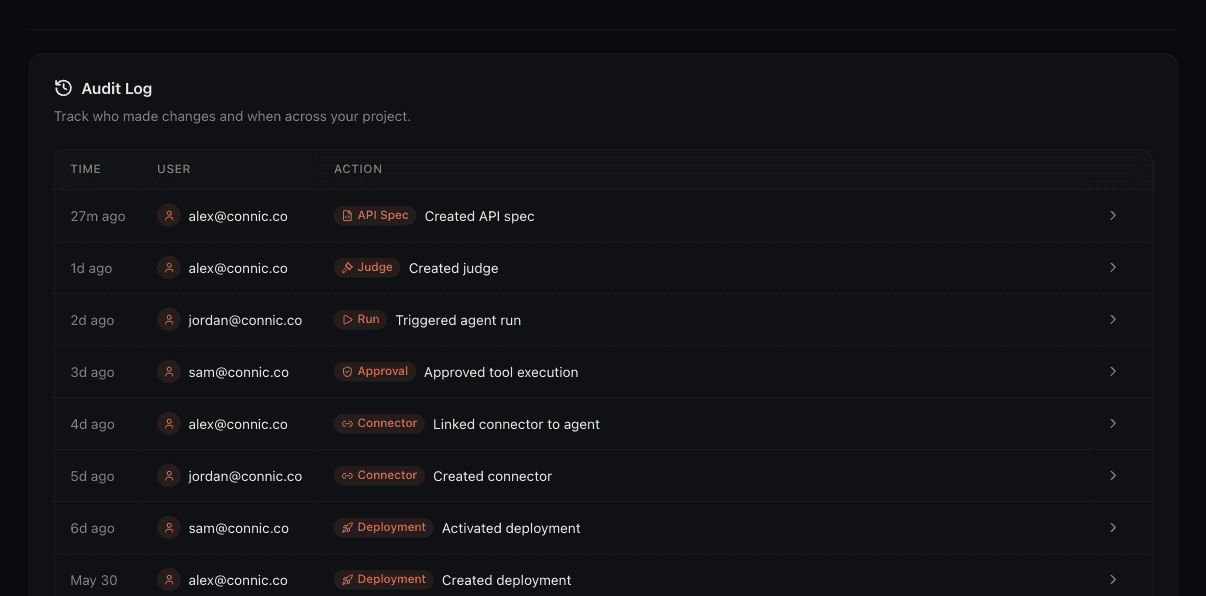
Audit log
Changes made in the project are recorded in the audit log, at Project Settings → Audit Log (viewing it requires the View audit log permission). Each entry captures:
- Who performed the action and when
- What changed, with before and after values where applicable (secret values are masked)
- The action category, such as project, deployment, connector, run, judge, approval, member, invite, billing, and Git
Filter the log by time range, action type, resource type, or user, or search across entries. Entries are immutable: they cannot be edited or deleted, which keeps a tamper-proof record. How long entries are kept depends on your plan, and the current retention is shown on the page.