Environments
Manage deployment environments, configure Git branch mapping, and scope variables to isolate staging, production, and development workflows.
Overview
Environments let you run the same agent code with different configurations. A typical setup uses separate environments for production and staging, each with its own variables, deployment pipeline, and run history. Every project starts with a default environment.
Manage environments in Project Settings → Git & Environments. The number of environments available depends on your subscription tier.
Creating an Environment
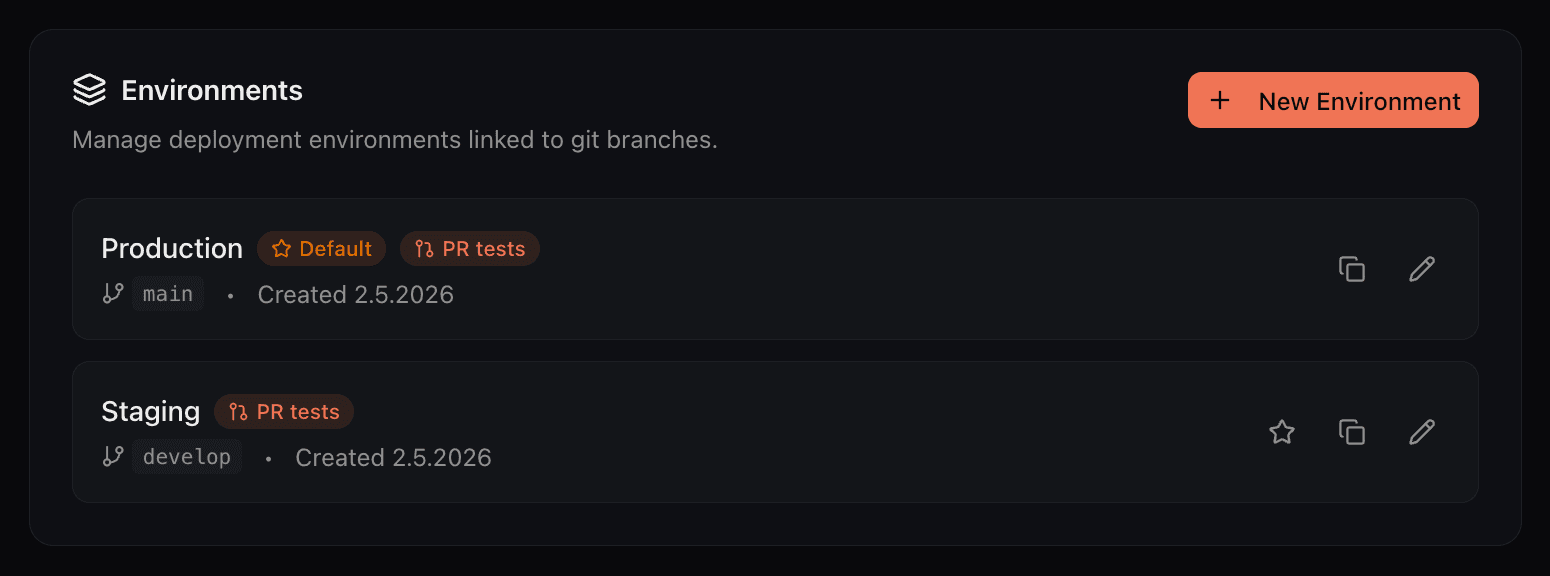
Click Create Environment and provide a name. If your project has a Git repository connected, you can link a Git branch to the environment. Otherwise, the environment will use CLI deployments.
| Field | Description |
|---|---|
| Name | A human-readable name for the environment (e.g. Production, Staging, QA) |
| Git Branch | The branch that triggers deployments to this environment. Only available when a Git provider is connected. Pushes to this branch deploy to this environment. |
Git Branch Mapping
When a Git repository is connected to your project, each environment can be linked to a specific branch. Pushing to that branch triggers a deployment to the corresponding environment. This enables workflows like:
mainMerging to main deploys to production
developPushing to develop deploys to staging for review
You can refresh the available branches from your settings if new branches have been created in the repository.
CLI Deployments
Environments without a Git branch linked use CLI deployments. Copy the environment ID from the settings page and pass it to the deploy command:
connic deploy --env <environment-id>This is also the approach for CI/CD pipelines where you want to deploy to specific environments based on your own logic. See the Deployment docs for full CI/CD examples.
Default Environment
One environment is always marked as the default. The default environment is selected when you open the project dashboard and is the target for CLI deployments when no --env flag is specified. You can change the default from the environment's menu.
Environment Variables
Variables are scoped per environment. This lets you use different API keys, database URLs, or feature flags for staging versus production. Manage variables in Project Settings → Variables.
Adding Variables
Add variables one at a time through the form, or use the Raw Editor for bulk operations. When creating a variable, you can select which environments to add it to at once.
| Option | Description |
|---|---|
| Key | Variable name. Must be uppercase, alphanumeric, or underscores (e.g. DATABASE_URL) |
| Value | The variable value. Can be shown or hidden during entry. |
| Sensitive | When enabled, the value is masked in the dashboard after creation. Use for API keys, passwords, and secrets. |
| Environments | Select one or more environments to create the variable in. |
Raw Editor
The raw editor lets you manage variables in KEY=VALUE format. This is useful for importing variables from .env files or making bulk changes.
# Raw editor format (KEY=VALUE)
DATABASE_URL=postgresql://user:pass@host:5432/db
OPENAI_API_KEY=sk-xxxxxxxxxxxx
LOG_LEVEL=info

# Lines starting with # are comments
Using Variables in Agents
Variables are available in your agent YAML using the ${VAR_NAME} syntax and in your Python tools as environment variables via os.environ. See the Variables docs for full usage details.
Dev Environments
Dev environments back the connic dev hot-reload loop. They can be ephemeral (auto-deleted when the session ends) or named (persistent across sessions). They're kept separate from your standard environments so you can't accidentally point a webhook at production while iterating.
- Grouped in a separate section of the environment selector
- Code is synced live from your machine; the deployments page shows the running session with a Dev session badge
- Their own set of environment variables and connectors
See the Dev Server docs for the full workflow.
Test Environment Override
Each standard environment has an optional Test environment dropdown in Settings → Git & Environments. The deploy gate (the test phase that runs before any image is shipped) executes the suite in this environment's context, using its env vars, connectors, and credentials, rather than directly in the production environment.
Typical setup: a sibling prod-test env with stub API keys and no billing connectors, set as the test environment for prod. Tests run against safe credentials and can't accidentally bill real APIs or trigger real downstream effects.
When the dropdown is empty, tests run in the deploy environment itself.
Switching Environments
The environment selector in the project header lets you switch between environments. The selected environment controls which data you see across the dashboard: agents, runs, connectors, and variables are all scoped to the active environment.